


Adding the Twitter Timeline is very Easy. To add this timeline your blog will be more attractive and by this timline user can follow and also can tweet to you directly from your blog. To add this widgets at first you have to need to create twitter widget on your twitter account. For this you will need to do the following steps -
Log in to your Twitter account and go to your setting page.

Now go to widgets and click on “Create new”.
After click this button you can see Configuration on your screen.

Now there are different options like Username , Height , Theme , Link Color. Now you need to fill up these options as your require.
Now saved your widgets to click the “Create Widgets".
Then copy the HTML code provided by Twitter.

Log in your blogger and go to Layout , click on “ Add a Gadget” and choose HTML/ JavaScript widget from the list.
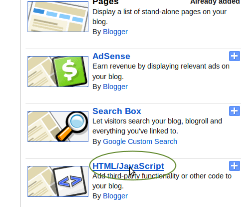
Paste the particular HTML code and save it.
Now open your blog you can see the widgets on the side bar.
For Wordpress users:
Add the Twitter widgets on Wordpress you have to need to create widgets from Twitter as same as previous. Here you need to copy only the Id which is long numbers. It will look something like this in your post.

Then log in your Wordpress Account and go to Dashboard => Appearance => Widgets. Now choose Twitter Timline and drag it to sidebar.
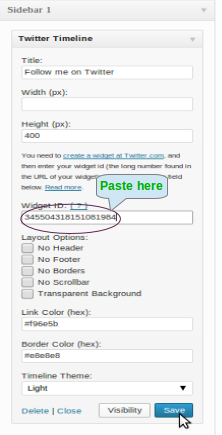
Now You have to need fill up all the field as your choice and save it.
View the blog , you can see your timeline.


No comments:
Post a Comment